28 April 2015

Week 33: Lady Sings The Blue

AND SO, now that Going Live is over (freedom feel weird...) it's now time to kick my project back into gear (lol).

I blocked in the next 6 weeks for animation (and this is currently week 2 lol) - and I can definitely see myself still animating atleast until the end of May... maybe into mid June but hopefully not.

So my 3 main areas of focus for the next few weeks obviously are:
  1. Animation
    Sushma was very helpful in assisting me in filming my reference footage. To be honest the main things I needed for this was a walk cycle - which I will be greatly exaggerating and figuring out the best way to make it rather stylised.

    ALSO the really good thing about filming the references is that it alerted me to some of the movements that might be a bit more tricky - like placing the flag in the ground. After acting it out i've found it to be a very unnatural movement, and Yannis has suggested that I make the flag bigger in order to make the movement flow a bit better! So will definitely try this.

    It also showed me that I potentially need to look at a few cartoon references to give the stylised walk and movemements that i'm aiming for

    I'll be playing close attention to these 2 happy sources to make sure i'm producing the best thing that I can and still learning new things (i've yet to touch the Graph Editor... awkward...)


  2. Dance Sequence
    Annoyingly, I won't be around for the mo-cap day, and i've found out that Wendy and Cristina won't be either! It's definitely a blow, BUT I feel like I prepared for this eventuality, and after the experience with GL i'm feeling a lot more confident at the prospect of key framing the whole sequence myself...

    Long, but to be honest i'm looking forward to the challenge, if 2D artists can do it then so can I lol. Again this will be the part that require the most animation time... good luck to me!
  3. Music
    Finally getting a proper handle on this, and some original sound that will be similar in style and sentiment to the music that my animation is based on! I'll now be working with a friend who is a music wizard!

    Fun times all round! 
I've probably posted this before, but hey why not again. This song is great and I am currently painting Billie Holiday.

23 April 2015

Week 32: Nirvana

So i've just had the happy pleasure of watching Brett Morgen's (first) authorised Kurt Cobain documentary - Cobain: Montage of Heck.

I was keen to see it for 2 main reasons - 1. I'm a Nirvana fan (go figure) and 2. It features a lot of animation sequences to visualised Cobain's recorded dialogue and interviews.

The animation is a very cool 2D/3D hybrid by Stefan Nadelman and Hisko Hulsing, and annoyingly I couldn't find any footage of it online (yet), so a few stills will have to suffice!


I'm really really keen to start learning to 2D animate (well) next semester, along side ZBrush, and i'm hoping to get a few test done. There's just something about this animation that I really liked - and I think a lot of this comes from the music or dialogue it was visualising.

I may not have been able to find any of the actual animation, but I did find some of Hulsing's work which is pretty much in the same style as Montage of Heck

 
JUNKYARD - Hisko Hulsing from il Luster on Vimeo.

Lots to learn.

But in the meantime...

This is a work in progress...


and this...

19 April 2015

Many a Matte

Tidying up more lose ends! I have successfully completed all the tasks from my last post and i'm now finalising my Matte Paintings. Once I start animating i'll probably find there there are more changes to make, but taking lessons from GL i've created 3 slightly different versions all in the 2D / comic / The Wolf Among Us / Borderlands style.

I've been looking at some Jonathan Lam tutorials for some extra matte painting insight, but as i'm not going for the realistic style there wasn't a massive amount I could take away from it, buttt I know it'll be useful in future artistic endeavours.  

HOWEVER, there are 2 things I can use now - his tips on importing and animating your matte in After Effects, but even earlier than that - thumbnailing.

To help me grow in confidence when it comes to painting landscapes I know that I need to take it much slower (not just rush in to try and finish he whole thing) and DEFINITELY thumbnail and block out the flat tones of my idea.

Thumbnails!!
This has helped massively in terms of me deciding to make the landscape a bit (not heaps...i'm not that good..YET) more complex, but also establish it's depth and scale! Something my previous matte painting was definitely missing.

OUT WITH THE OLD!! (Old Matte Painting... by old I mean one that I was really happy with a couple of weeks ago.. for shame)
ALSO, now that I know how to use After Effects a bit better - and knowing that I can use and abuse the layer system, I know that I can be a lot more flexible with the placement of mountains - those in the foreground especially (as my character will be emerging from behind them in a couple of shots.)

Landscape 1

Landscape 2a
Landscape 2b
Cave Wall
There's definitely a few colour corrections to be made and I need to finalise the sky, but there's potential for me to do this in After Effects (and try my hand at animating the stars and atmosphere).

I'm also working on one for the 360 shot that I have... I still need to figure this one out... but i'm hungry

17 April 2015

Lines, Lights and Lands of Borders

I've taken the tail end of this week to clean up some loose ends with my project ahead of attempting to kick of some animation next week (or at least reference gathering). Three of these things include:
  1. Finalise my toon line
  2. Create her helmet
  3. Figure out how to attach the shoulder and thigh pad
Now that i'm more Maya literate i've figured out how to get the outline as instructed in the Borderlands style tutorial, which includes duplicating my model, reversing normals etc etc.

Borderlands style Toon Line Test
This is quite a cool method, and the main benefit is that it renders out in Mental Ray - which a toon line won't (i'd have to render it on a separate layer using Maya's renderer - still need to test this). 

Major downside (I think atleast) is the extra poly count AND the fact that this duplicate needs to be skinned and weighted - if I was just posing her that would be fine, but I can see this potentially causing issues when shes moving - dancing especially. I can see the outline sometimes not staying where it needs to be and popping around. Which I trust the toon line won't - so long as it renders fine.

Maya's Toon Line
So after this brief investigation of both methods, I initially thought i'd go with the toon lines but i'm actually learning a lot more towards the borderlands style outline. I've just copied over the skin weights, and so far all seems well with the exception of her shoulders - bit i'm going to play with these weights a bit more.

SO the gloves, shoulder-pads and thigh-pads...

When I was modelling her Sean had initially warned me that the geometries would most likely intercept each other when they moved, but I don't think I fully understood what he meant, and I think I was more than naive in thinking I could work my way round it... so i've FINALLY decided to bite the bullet and paint these assets onto her suit.


To be honest was quite quick to do and i'm happy with the results. For the thigh pads I might raise a few verticies on the main model just so they puff out a bit more. I'll probably do the same for the shoulders too as there just doesn't seem to be a way round it.

________

Also in life today we had a short rendering / touch up lighting class with Sean. A lot of this stuff I picked up from Amit for GL, but some of it was new stuff they I need to delve a little deeper into.


So far going into my final project I know that my weak spot is lighting. I didn't get the chance to play around with this during GL so i'm going to give myself a mini crash course in the next couple of weeks.

Until then, the Manics will help my re-texture away my jumping the gun shame.

15 April 2015

Week 31: Space, Stars and Suspicious Quinoa...

So, in-between inhaling suspicious amounts of quinoa, i've been having a little think about setting up my project scenes etc etc. I've been trying to take as much info/experience as possible from our Going Live project so I can apply it to this one.

And one of the key things i've learned is how not to do certain things (like overloading scenes when things don't need to be in there), and most importantly due to time (and being only one person), I need to cheat where I can - especially when my laptops health depends on it.

So back to the matter of my scenery - i've been in a rush to dress everything etc like we did with GL, but it just doesn't look right with the matte and floor - so after consulting things like Contre temps and The Wolf Among Us again - and like properly analysing, i've realised that I can do a hell of a lot more 2D than i'd initially realised.


With the way that some of my scenes are shot and the camera angles, I can easily get away with having these as Matte Paintings.


I think that this will also help me achieve 3 main things:

  1. Getting better / more confident at landscapes / matte paintings
  2. Cut down rendering time (as i'll just be rendering the camera movements)
  3. Weave in more of a comic style
I'm actually really excited about the prospect of this because I really really want develop my environment skills and have a strong 2D element as part of my end product. Really really hoping I can pull this off.

I'll also probably have to tweak a few of my textures as a result, but I feel a lot more confident about that now. I'm still going to set up my camera's in preparation and establish their initial movements

Also, after gaining some more sanity i've once again managed to crop down my shot list, taking myself from 19 to 14 (potentially 13). So lots and lots of painting for me this weekend with the help of Mr Stevie Wonder.

12 April 2015

Matters of Learning, Matte Painting and Matt Murdock

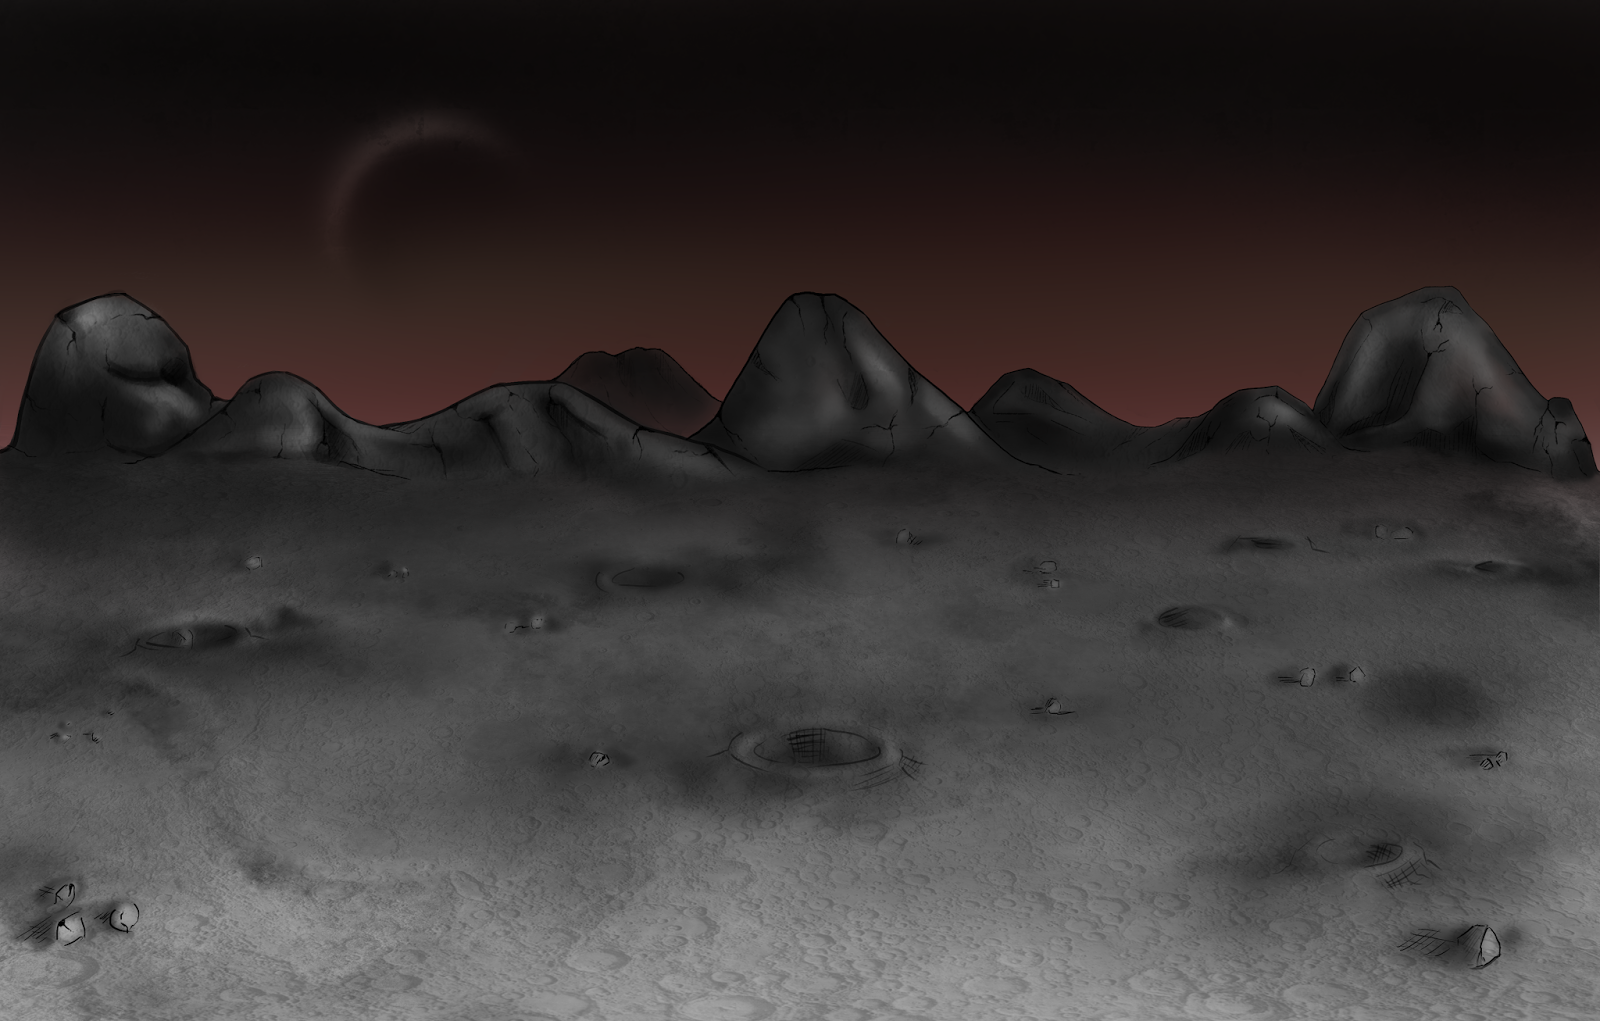
Haaaa finally finished my first ever matte painting! I'm usually adverse to landscapes, but this more a lot more enjoyable than I thought it would be.

I've picked up some really useful Photoshop tips from people this year and definitely grown in art skill, which has given me the confidence to try new art things. This being one of them. Huzzah.

As I move into animation, i'll probably find that I need to make a few tweaks here and there, but at the moment i'm really happy with it, and think it fits in we'll with the 2D / Borderlands-esque style i'm going for.


I thought it would be a good idea to quickly comp it in with one of the many selfie renders i've done to make sure it doesn't clash with my model!


Need to give the landscape/matte a bit more colour so she stands out more against it me thinks. Will also definitely need to tweak the sky - her face is blending into it too much. And stars! How could I forget the stars...


Now, on the personal art side, i'm keeping up with my weekly anatomy sessions - learning and re-learning, and attempting to put this stuff into practice - especially for my warm up sessions... which are obviously now Daredevil influenced.

Also gives the opportunity to evade my portrait comfort-zone


Until I eventually go back to it (for fun)

A Daredevil work in progress

No doubt there will be more Matt Murdock madness to come... ack

11 April 2015

Bumps, Maps, Bump Mapping

From Displacements to bumps! More experimentation, and after doing a bit more research i'm definitely thinking that a slight bump map is the way to.

I considered cheating it slightly and just creating a bump from Nasa lunar images which created some interesting results... I tried some more extreme and then subtle values by tweaking the colour balances.

Nasa lunar image

I'm both intrigued and scared by these results hahah, but to be honest it's good that I tested it because it told me that I definitely needed to re-look at how I approach this. Most importantly doing it that way would not fit in with the style i'm attempting as it needs to look a lot more 2D. Sooo Photoshop it is!

I've been busying myself with painting a 2D diffuse map for the surface, and i'm rather happy with the results - and like the body i've added lines to it. I've made the craters in separate layers and want to use this for a slight bump map so I atleast get the appearance of a dip.

my high res 4k displacement map and stuff.
Here are the result again with a slight and more extreme bump. Again to fit in with the style it definitely needs to be more subtle, and I think I need to play around with the values a bit more to finalise the look.


Next step will be to test this out with my character on the surface. I'll also add a few of the rocks and see how it looks as well as the matte painting. Fingers crossed they'll also go well together.

More Daredevil distractions.

ALSO came across this cool animation. I think it might be helpful in terms of how I want to stylise my movements.