30 November 2014

Renders, Comps and Confusion

We did some rendering and compositing with Sean this week using a model he'd constructed. I'd taken it upon myself to name him Julian.

I found the rendering process itself a little tricky mainly because theres so many bits of information and setting to remember if you want to get certain results, but I know that'll come in time.
We also did some comping for the rendered image in Nuke - again I found all the bits of info a little tricky to take in, especially as Nuke is still very new to me, but i'm hoping to get in some practice over Christmas.


I'm a massive fan of the node system that Nuke has and I think that'll definitely help me with my process.

I've been working on the composite image to place my model in. I did a couple of quick sketches to figure out what I wanted the image to be based on concept art and my storyboards and decided to with the point when she lands on the planet.


So I decided to quickly throw together a basic model of her space capsule. I look at a couple of references for the texture.

Reference image
My basic space pod model
I'll include it in my final image and will paint the background in Photoshop.

UPDATE:
I've finally posed my character and done a bit of weight painting on somme problem areas like the arm bend!


I also mucked around with making some differenct facial expressions by important the face into Mudbox and sculpt editing it on different layers then importing it back into Maya


28 November 2014

Interstellar, Interlinking, Interactions

I've been thinking a lot about my project and programme of study for my research poster so i'm trying look at a range of sources for inspiration and examples... soooo this week I went to see Christopher Nolan's Interstellar (for a mixture of research and general viewing).

Although the film isn't an 'animation' it obviously features heaps of visual effects. But in regards to my research and project I felt that there were 2 immediate links:
  1. The theme of space
  2. The score contributed to the overall look and feel of the film - apparently Nolan didn't provide Hans Zimmer with a script for the film, only the fable at the centre of the story - Zimmer was left to tell the story in his own 'words'.
I'm in love with the score


I've also been looking at the concept art by Romek Delimata to see if there's any inspiration I can get from it in terms of making changes to the design of my characters space suit.


26 November 2014

Week 11: Rigged...

I've finally started rigging my character! We had another lesson on it with weight-painting last week and i'm pretty sure this will come in handy after I bind my character to her skeleton.

I've got my anatomy books on standby just in case i'm a bit unsure of anything movement / placement-wise, but not feeling to worried about that.

So photos of the rigging and weight-painting I did during class.


Will update this post when my character is all rigged!

UPDATE
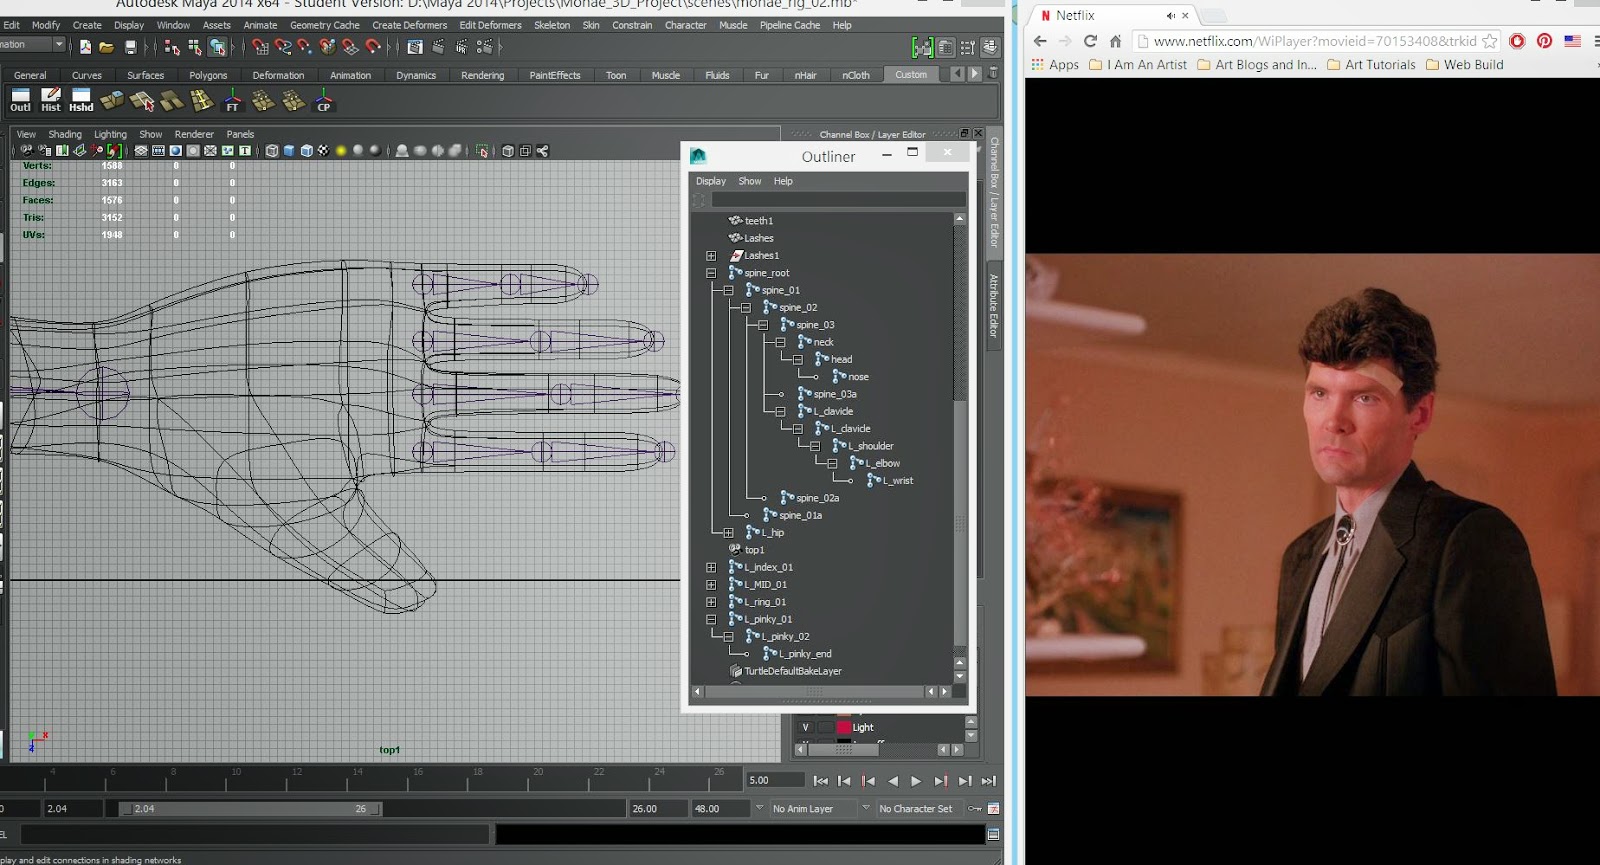
SO. It's taken me a glorious 3 days to rig my character. Setting the skeleton was fine, but I ran into a few issues with the rig control - mainly due to misunderstanding information and tiny mistakes coming to bite me on the arse later.

Full-body Skeleton and Twin Peaks...
Hand Joints and Twin Peaks...


RIGGED!!
All in all the experience has been alarming and addictive, but again having to redo this a few times has taught me heaps. My main rigging tips would be:

  1. Make Delete History and Freeze Transformation your best friend - doing this for the controls is so important to 'resetting' the joints back to where they should be if you've been moving controls around
  2. Love a Blend Node - Again, muchos important to the IK/FK/Bind joints, once you learn what they are and what they do, the "why isn't this moving?!' panic ends
  3. Check, Check Check - Pay attention to your model, skeletons and controls when changing attributes, constraining orients etc. You don't want to get to the end of your rig (cough cough) and find that the error was made 20 steps ago and you didn't see it cause you weren't paying attention
  4. Names are fun - Have a CLEARLY named hierarchy. There is SO much going on, and the Outliner looks like a disco. Clean and clear names will make it easier to locate particular joints
Next step is to bind, weight paint and pose!

Deformed Matrix: Test Bind


24 November 2014

Projects, Prep, Pictures

Just a quick update on some of the work i've been doing outside of my own stuff.

I've offered to help Amit and Slava with character design and story boards for their final projects. I've done a few preliminary sketches for their key characters based on their references and have finished the story board for Amits.

We're probably going to sit down next week to talk over everything and make some tweaks / changes ahead of producing final designs.

Sketches and Story board for Amit's project - The Forest Guardian


Sketches and beginning story board for Slava's project - Fall Of The Wall


Slava also organised a life drawing class with her pregnant friend (her main character is pregnant) which was really really useful. 

Was also great to get some life drawing in this week!

I've reached out to the people that have offered to help me with bits and bobs for my project and am hoping to sit down at some point next week to get feedback on what i've come up with so far.

Any advice is great advice right now, and a new perspective would be really useful.

Feeling good about it so far and plan on doing lots of practice and testing over the Christmas - need to make sure my 2D skills are up to scratch.

Many a thing to do!

22 November 2014

Textures, Trials and Tribulations

SUCCESS!

I now have a fully textured character model and I am feeling happy about it.


It was quite a soothing process. I decided to texture via UP maps in Photoshop. Photoshop does have a 3D option which is really helpful, so you can paint straight on your model, but I didn't want to stress out my laptop with the rendering needed to smooth it for the important.


My go to for references was The Incredibles and Wall-E - I felt they were both similar in terms of the textures / look and feel I want to achieve.

I checked out a couple of tutorials for how to get the glowing effect I wanted. The 2 below were super simple and helpful!

How To Make Objects Glow
  1. https://www.youtube.com/watch?v=CijESEporUo
  2. http://nealbuerger.com/2012/02/create-neon-glow-effect/
I also added a couple of grungy textures to the suit to make it look a bit more worn

Now for a few photos and my end result.

my spiffy coloured UV map
Glow type 1 - TOO BRIGHT!!


Glow type 2 - BETTER!


Testing render snapshot with different background

I can't look at this anymore otherswise i'll start nit picking and trying to change things.... but all in all, very happy with the result. I might import her into Mudbox to paint over the seams as a final clean up.

3D is fun, and I am still slow.

UPDATE:
Also decided to do an animated turn