I've got my anatomy books on standby just in case i'm a bit unsure of anything movement / placement-wise, but not feeling to worried about that.
So photos of the rigging and weight-painting I did during class.


Will update this post when my character is all rigged!
UPDATE
SO. It's taken me a glorious 3 days to rig my character. Setting the skeleton was fine, but I ran into a few issues with the rig control - mainly due to misunderstanding information and tiny mistakes coming to bite me on the arse later.
 |
| Full-body Skeleton and Twin Peaks... |
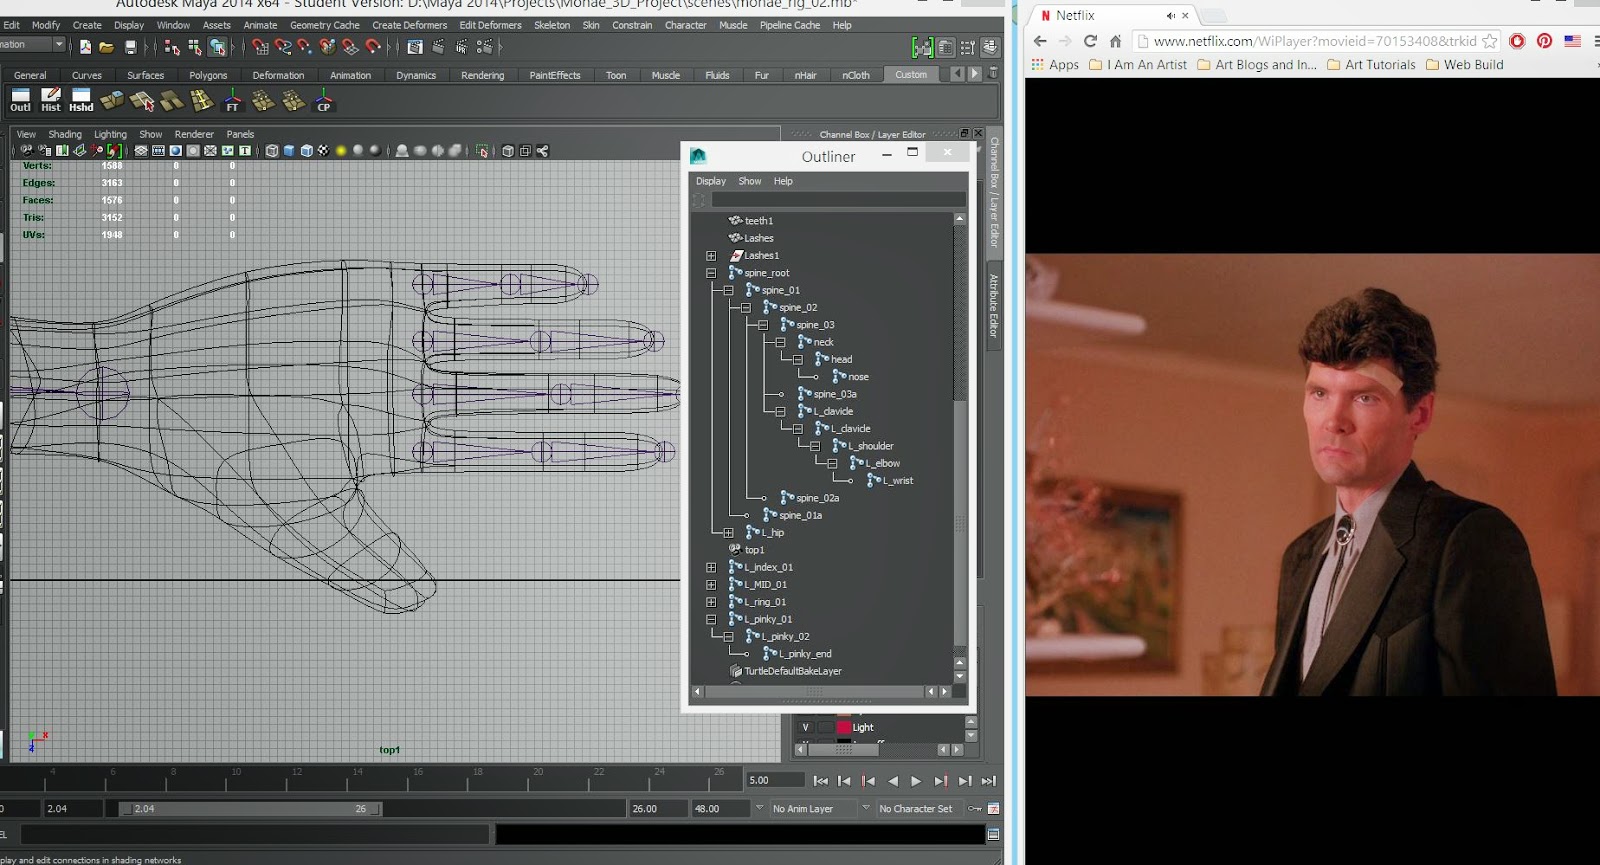 |
| Hand Joints and Twin Peaks... |

 |
| RIGGED!! |
- Make Delete History and Freeze Transformation your best friend - doing this for the controls is so important to 'resetting' the joints back to where they should be if you've been moving controls around
- Love a Blend Node - Again, muchos important to the IK/FK/Bind joints, once you learn what they are and what they do, the "why isn't this moving?!' panic ends
- Check, Check Check - Pay attention to your model, skeletons and controls when changing attributes, constraining orients etc. You don't want to get to the end of your rig (cough cough) and find that the error was made 20 steps ago and you didn't see it cause you weren't paying attention
- Names are fun - Have a CLEARLY named hierarchy. There is SO much going on, and the Outliner looks like a disco. Clean and clear names will make it easier to locate particular joints
Next step is to bind, weight paint and pose!
 |
| Deformed Matrix: Test Bind |

