I softened the blow my starting with her helmet first which didn't need mapping as it's glass and transparent! I looked at a few tutorials of how to do this, and decided on using the Maya Blinn texture and Ramp Shader (Reasons and tutorials below)
3D Total Glass Tutorial
A VERY useful tutorial - offered 3 methods of creating glass, and insight intto what needs to happen and why when we're texturing glass (refraction, reflection and transparency). I was a little unsure about what some things were/ did like Ramps so got a bit of info on them too.
Spa Fi Glass Tutorial
Again very useful but it didn't sit quite right for what I wanted.
Lynda Glass Tutorial - mia_material_x
I did like the use of mia_material_x, but it was a bit too realistic for more liking, it reflected on her face like real glass would and made it shiny, which wasn't the effect I wanted for her - glass shiny - Yes, her face shiny - No
Lynda Glass Tutorial - Blinn / Ramp Shader
I went with this one using the Ramp Shader and added a bit of texture made in Photoshop via a tutorial HERE. So while it's shiny and transparent it doen't make her facce shiny and glassy either which is perfect
 |
| Playing around with Glass using Blinn and transparency |
 |
| Glass using mia_material_x - WHY DOES HER HEAD LOOK LIKE A BOWLING BALL?! |
 |
| Glass using Ramp Shading - her face isn't shiny! =D |
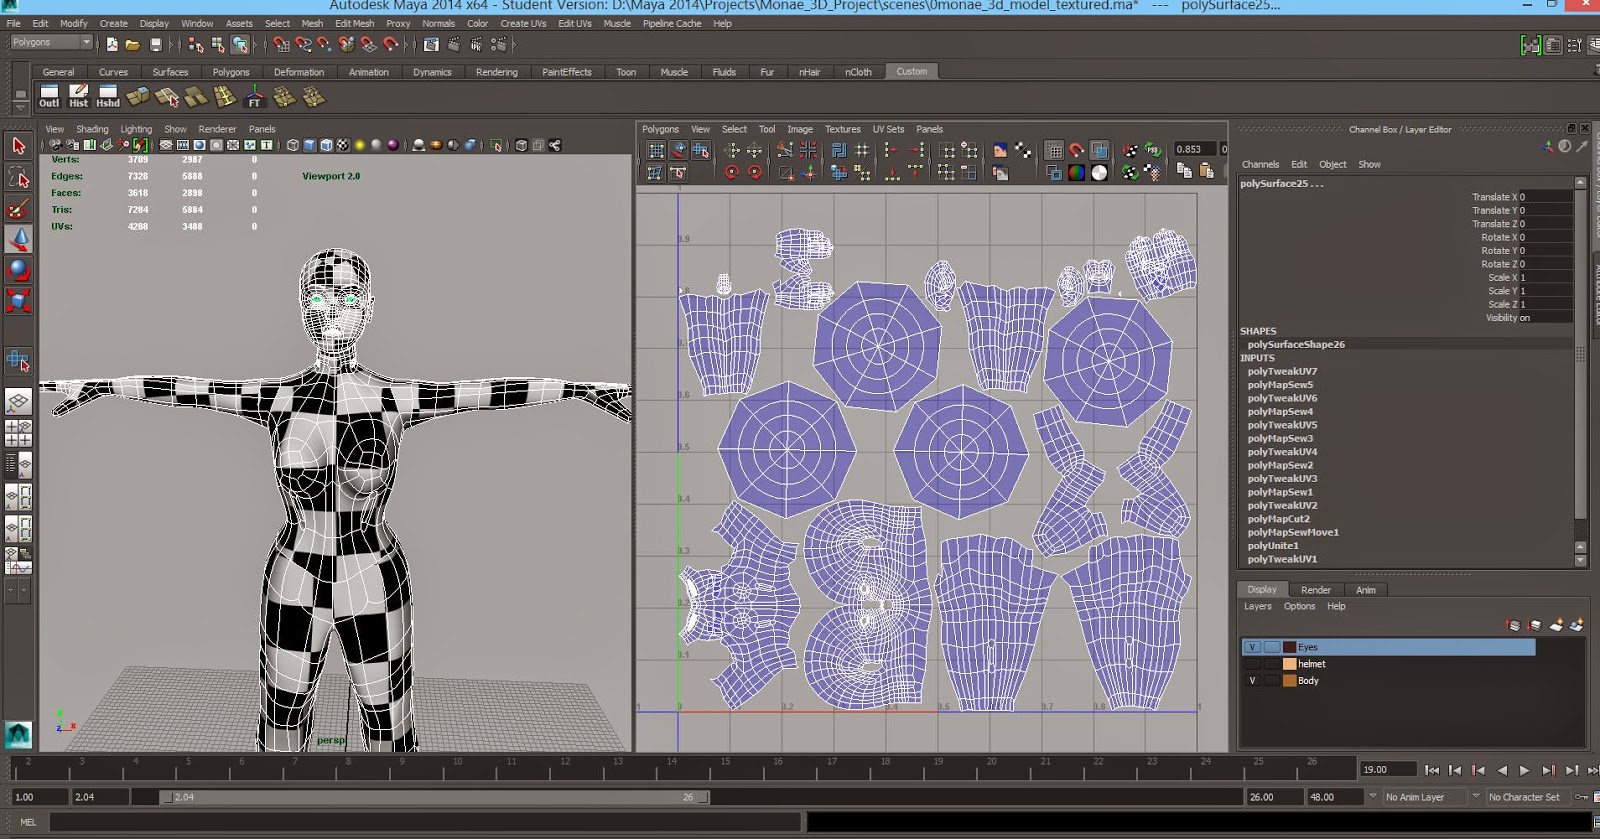
And then there was UV Mapping - like modelling, I am ALSO the slowest UV mapper alive. ALTHOUGH it's ALOT easier than I remember it being and I know i'll get quicker with practice.
Again a learnt a lot about the process and why its important, it's also give me a couple of things to look out for when im next modelling - like how I attach the ear, and the curves of shoulders etc.
I had a bit of trouble at the beginning trying to figure things out but the Lynda
Digital Tutors and
Method J tutorials really were a god send, especially the Digital Tutors one
I also checked out a few non academic (normal people!) ones on Youtube to get a few more tips to help speed up my process:
https://www.youtube.com/watch?v=uPBJBeloki0
https://www.youtube.com/watch?v=r6KCWV4wyoQ
https://www.youtube.com/watch?v=7aBYVA_ekHM
The result? I actually managed to finish it in about 15 hours, and I am VERY happy with it. Will probably try to make my squares a bit smaller, but excited to start texturing in Photoshop and Mudbox.
 |
| My UVed model. |
 |
| UV snapshot for 2D painting!! |
UPDATE
So i've been trying to figure out a way to make my checker texture smaller on my model. Scaling my UV maps only made them leave the box, so I found a much simpler way by going into the place2Dtexture and increasing the Repeat UV numbers (i've settled on 25)
Going to double check this with Sean in Friday's lesson to make sure I haven't broken her!


